
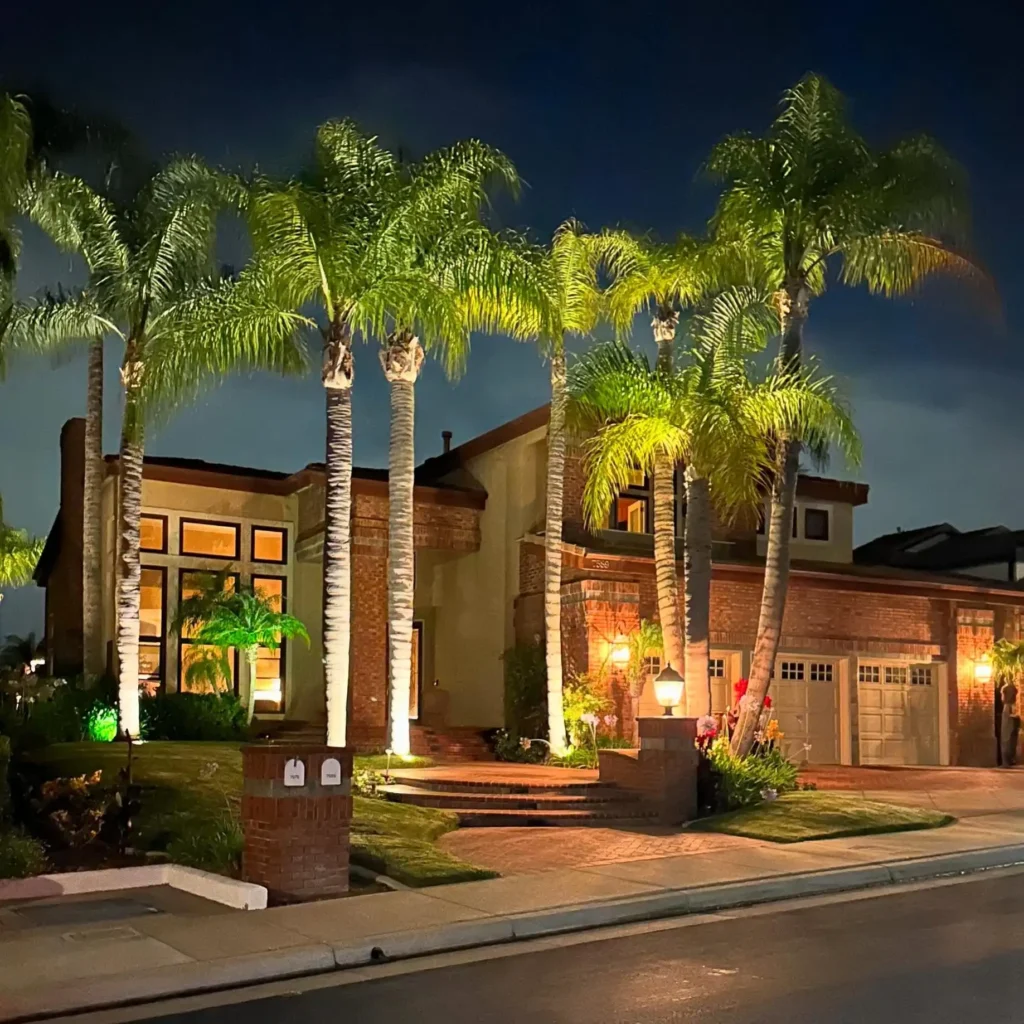
Installing landscape lighting transforms outdoor spaces after sunset. Done correctly, it highlights architectural features, illuminates pathways, and creates depth through layered light and shadow. Done poorly, it creates harsh glare, uneven coverage, and frustrating maintenance issues.
This guide walks through the complete landscape lighting installation process, from initial planning and layout to final fixture placement and system testing. Whether you’re considering a DIY approach or want to understand what professional installation involves, you’ll learn the technical requirements, common mistakes, and design principles that separate functional lighting from truly exceptional outdoor illumination.
Planning Your Landscape Lighting Layout
Successful installation begins before any fixtures reach the ground. A detailed plan prevents costly mistakes and ensures your lighting achieves specific goals rather than randomly spotlighting features.
Start by identifying what you want to illuminate. Walk your property at dusk and note architectural details that deserve emphasis, pathways requiring safe navigation, trees with interesting bark or canopy structure, and potential dark spots that create security concerns. Take photos from multiple angles to reference during planning.
Mark each intended fixture location with temporary stakes or spray paint. This physical layout reveals spacing issues, overlap problems, and areas where your initial concept needs adjustment. Stand back and evaluate sight lines from key viewing areas like windows, patios, and entryways.
Consider how each fixture serves the overall composition. Avoid the common mistake of installing identical fixtures at regular intervals, which creates monotonous, predictable lighting. Professional landscape lighting design layers different fixture types at varying distances to build depth and visual interest.
Calculate your total wattage requirements early in planning. Add up the wattage of all planned fixtures, then multiply by 1.25 to account for voltage drop and future expansion. This determines the transformer capacity you’ll need.
Understanding Low Voltage Landscape Lighting Systems
Most residential landscape lighting operates on low voltage systems, typically 12 volts. This stands in contrast to standard household 120-volt electrical service. Understanding the different types of landscape lighting systems helps you make informed decisions about your installation.
Low voltage systems offer several advantages. The reduced voltage minimizes shock hazard, allows for simpler installation without extensive electrical expertise, and provides flexibility for future modifications. Fixtures can be relocated, added, or removed without major rewiring. For homeowners planning a DIY setup, understanding how to install low voltage landscaping lights correctly is essential to ensure safe wiring and long-term performance.
The system includes three main components: a transformer that steps down household voltage to 12 volts, buried cable that carries power from the transformer to fixtures, and the fixtures themselves. Each component plays a specific role in system performance.
Transformers come in different capacities, typically ranging from 150 watts to 900 watts for residential applications. Choose a transformer rated for at least 25 percent more than your total fixture wattage. This headroom prevents the transformer from operating at maximum capacity, which shortens its lifespan and contributes to voltage drop issues.
Cable gauge matters more than many installers realize. Use 12-gauge wire for runs up to 100 feet, and upgrade to 10-gauge for longer distances or higher wattage loads. Undersized wire creates significant voltage drop, causing fixtures farthest from the transformer to appear dim and inconsistent.
Gathering Essential Tools and Materials
Proper installation requires specific tools and materials. Attempting to improvise with inadequate equipment leads to poor connections, damaged fixtures, and time-consuming rework.
Required tools:
- Trenching shovel or edger
- Wire strippers rated for 10-gauge and 12-gauge wire
- Multimeter for voltage testing
- Drill with various bits for mounting fixtures
- Level for ensuring proper fixture alignment
- Tape measure for accurate spacing
Essential materials:
- Low voltage transformer with photocell and timer
- Direct burial rated low voltage cable in appropriate gauges
- Waterproof wire connectors rated for underground use
- Landscape lighting fixtures suitable for intended applications
- Mounting stakes or bases depending on fixture type
- Silicone sealant for protecting connections from moisture
Invest in quality wire connectors specifically designed for landscape lighting. Standard twist-on wire nuts fail quickly when exposed to ground moisture. Use gel-filled or grease-filled connectors that create waterproof seals around wire junctions.
Installing the Transformer and Main Cable Run
Transformer location affects the entire system’s performance and longevity. Mount it on an exterior wall near an outdoor GFCI outlet, positioned at least 12 inches above ground level to prevent water damage during heavy rain or irrigation.
Most transformers include a photocell that automatically turns lights on at dusk and off at dawn. Position the photocell where it receives ambient light without direct fixture glare that could trigger premature shutoff. Add a manual timer for additional control over operating hours.
Connect the transformer to the GFCI outlet and verify it functions properly before running any cable. Set the timer and photocell, then observe whether the system activates as expected.
Plan your cable routes to minimize trenching while maintaining reasonable distances from the transformer. Multiple shorter runs from a central transformer typically perform better than one extremely long run, as they reduce cumulative voltage drop.
Dig trenches for burial rated cable at a depth of 6 to 8 inches. This protects the wire from damage while keeping it shallow enough for future maintenance access. Run trenches along existing bed edges, fence lines, or other landscape features where digging won’t disturb established plantings.
Lay cable in trenches without pulling it taut. Leave slight slack to accommodate soil settlement and prevent stress on connections. Mark cable routes with landscape flags or take photos before backfilling, creating a reference for future projects or repairs.
Connecting Fixtures and Running Branch Lines
Connect fixtures to the main cable run using the tap method or hub method, depending on your system design and fixture placement.
The tap method uses waterproof connectors to splice individual fixtures directly onto the main cable at any point. This approach offers maximum flexibility for fixture placement but requires careful attention to connection quality. Strip just enough insulation to insert wire into the connector, typically about 1/2 inch. Over-stripping creates unnecessary bare wire that can short circuit.
The hub method brings the main cable to a central junction point, then runs separate branch lines to groups of fixtures. This technique simplifies troubleshooting and allows you to isolate sections of the system for maintenance without affecting the entire installation.
Regardless of connection method, test voltage at each fixture location before finalizing placement. Use a multimeter to measure voltage at the fixture socket. Readings should fall between 10.8 and 12 volts for optimal performance. Fixtures receiving less than 10.8 volts will appear dim and may flicker. Readings above 12.5 volts can shorten bulb life.
Voltage drop becomes more pronounced at the end of long cable runs. If testing reveals excessive voltage drop, install a larger gauge wire for that run, split the run into two shorter branches, or relocate fixtures closer to the transformer.
Proper Fixture Placement and Aiming Techniques
Fixture placement determines whether your lighting creates intentional, professional results or haphazard illumination that fails to enhance your landscape.
Uplighting trees and architectural features:
Position fixtures 12 to 36 inches from the base of the element you’re illuminating, depending on the subject’s height and the beam angle of your fixture. Closer placement creates dramatic shadows and emphasizes texture. Greater distance provides broader coverage with softer shadows.
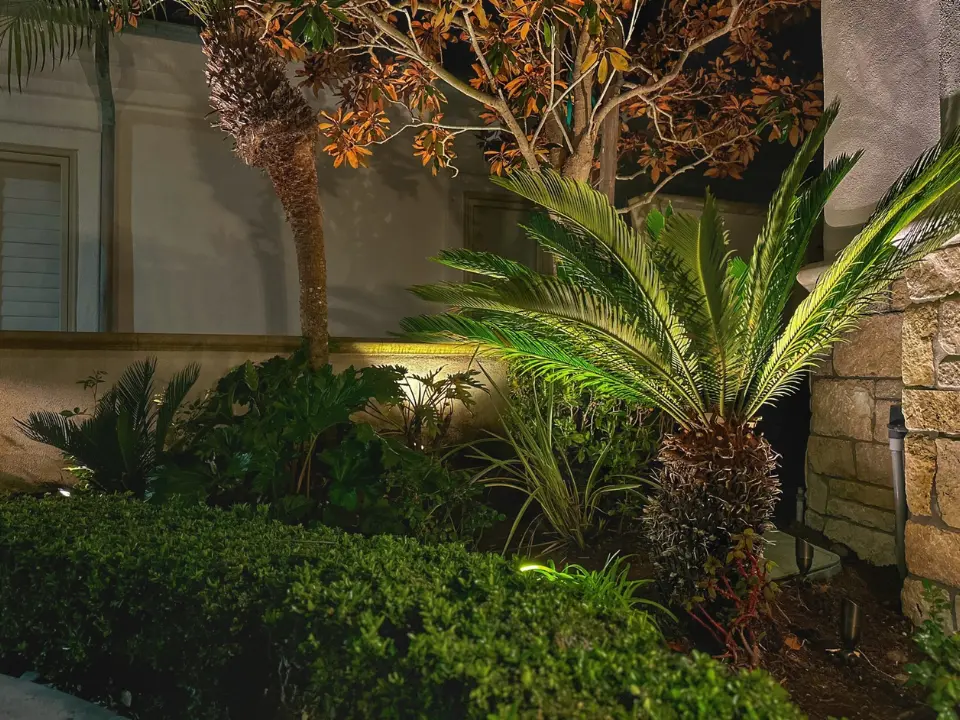
Aim fixtures to highlight specific features rather than flooding entire surfaces with uniform light. When uplighting trees, consider whether you want to emphasize trunk texture, backlight the canopy for silhouette effects, or wash light through branches for dappled patterns. Professional tree and garden lighting creates these layered effects through careful fixture selection and placement.
Path and walkway lighting:
Install path lights 8 to 12 feet apart along both sides of walkways for even illumination. Stagger fixtures on opposite sides rather than aligning them directly across from each other. This creates overlapping light pools that eliminate dark gaps while adding visual interest.
Keep path fixtures low to the ground, typically 18 to 24 inches in height. This positions light where it’s needed for safe walking without creating glare at eye level.
Accent lighting for gardens and plantings:
Use fixtures with narrow beam spreads to highlight specific plants or garden features. Position these carefully to avoid washing out subtle foliage colors or creating harsh shadows. Outdoor accent lighting requires precision in both fixture selection and placement to achieve the desired effect.
Test fixture positions before finalizing placement. Move stakes around, turn lights on after dark, and observe the results from multiple viewing angles. Make adjustments while the system is still flexible rather than after completing the installation.
Related Read: How to Hang String Lights on Covered Patio
Burying Cable and Protecting Connections
Once fixture positions are confirmed and voltage tested, secure all connections and prepare for burial.
Wrap each connection point with self-fusing silicone tape, creating a waterproof seal that prevents moisture infiltration. Start the wrap several inches below the connection, spiral upward past the connection point, then back down again. Stretch the tape as you wrap so it fuses to itself.
Place additional protection over critical connections using waterproof junction boxes designed for burial applications. These provide a secondary barrier against water and make future access easier.
Carefully backfill trenches, avoiding sharp rocks or debris that could damage cable insulation. Tamp soil gently to settle it without compacting excessively. Leave shallow depressions that will fill naturally with settling rather than mounding soil above grade.
Take photos of your cable routes from multiple angles before covering them completely. These become invaluable references when planning future landscape changes or troubleshooting issues.
Testing and Adjusting the Complete System
After installation is complete, conduct thorough system testing before declaring the project finished.
Turn on the system and observe every fixture. Verify that each one illuminates properly, aims correctly, and produces the intended effect. Check for any flickering, which typically indicates loose connections or insufficient voltage.
Revisit voltage testing at fixtures that appeared borderline during initial checks. Measure voltage with all fixtures operating, as this represents actual system load. If readings fall below acceptable ranges, address the issue now rather than accepting subpar performance.
Walk your property from multiple angles after dark. Observe how the lighting appears from windows, patios, and entryways. Look for areas that receive too much light, creating glare or washing out subtle effects. Adjust fixture aims or add shielding as needed.
Check for unintended light trespass onto neighboring properties. Poorly aimed fixtures that cast light beyond your property line create annoyance and may violate local lighting ordinances.
Common Installation Mistakes to Avoid
Even careful DIY installations often include predictable mistakes that compromise results. Understanding these outdoor lighting tips helps you avoid common pitfalls.
Undersized transformers: Installing a transformer that operates near its maximum capacity leaves no room for expansion and contributes to premature failure. Always oversize the transformer by at least 25 percent.
Insufficient wire gauge: Using 14-gauge or 16-gauge wire for long runs creates significant voltage drop that no amount of troubleshooting can resolve. Invest in proper gauge wire from the start.
Poor connection quality: Standard wire nuts fail quickly underground. Use only waterproof, gel-filled connectors rated specifically for burial applications.
Overlighting: More fixtures don’t automatically create better results. Restrained lighting that highlights specific features while leaving some areas in shadow creates more dramatic, professional effects than uniformly flooding your entire yard.
Ignoring maintenance access: Burying connections too deep or in unmarked locations makes future troubleshooting nearly impossible. Mark cable routes and keep connections reasonably accessible.
Inconsistent fixture quality: Mixing low-quality fixtures with premium ones creates inconsistent color temperature, uneven beam patterns, and varying lifespans that require constant bulb replacement.
When to Consider Professional Installation
Understanding the installation process helps you decide whether DIY makes sense for your project or if professional landscape lighting installation offers better value.
Professional installation delivers several advantages. Experienced installers recognize design opportunities and problems that aren’t obvious to homeowners. They stock commercial-grade fixtures with superior build quality and longer warranties than consumer products available at home centers.
Professionals carry specialized tools for precise voltage testing, cable location, and fixture aiming. Their familiarity with local soil conditions, irrigation systems, and common installation challenges streamlines the process and prevents trial-and-error mistakes.
The most significant advantage involves design expertise. Professionals understand how different fixture types, beam angles, and placement patterns create specific visual effects. They can translate your general ideas into technical specifications that achieve your goals.
Consider professional installation when your project involves complex layouts with multiple fixture types, integration with existing electrical systems, or areas where improper installation could damage valuable landscaping. The investment in professional work often costs less than purchasing twice the fixtures you actually need while avoiding the mistakes that plague first-time installations.
Maintaining Your Landscape Lighting System
Proper landscape lighting maintenance extends system life and preserves lighting quality. Neglected systems develop corroded connections, misaligned fixtures, and bulb failures that diminish the installation’s impact.
Quarterly inspections:
Walk the system after dark every three months. Note any flickering fixtures, dimming bulbs, or fixtures that have shifted position. Check for fixtures partially obscured by plant growth that needs trimming.
Annual deep maintenance:
Once per year, inspect all buried connections for moisture infiltration. Reapply silicone tape to connections showing corrosion. Verify transformer operation and clean photocell sensors that may be obscured by dust or debris.
Clean fixture lenses with appropriate cleaners that won’t scratch lens materials. Remove dirt, debris, and spider webs that reduce light output. Check mounting stakes for stability and reset any that have loosened.
Test voltage at several points throughout the system to verify performance hasn’t degraded. Compare readings to your installation measurements to identify developing problems before they cause fixture failures. When issues arise that require professional attention, consider landscape lighting repair services to restore system performance.
Conclusion
Installing landscape lighting correctly requires careful planning, appropriate materials, and attention to technical details that determine long-term performance. The process involves more than connecting fixtures to power. It requires understanding how voltage drop affects distant fixtures, how different connection methods impact reliability, and how placement and aiming techniques create intentional lighting effects rather than random illumination.
Whether you proceed with DIY installation or choose professional services, this knowledge helps you make informed decisions about materials, design approaches, and quality standards. Landscape lighting represents a significant investment in your property’s nighttime appearance and functionality. Proper installation ensures that investment delivers years of reliable, beautiful illumination.
Frequently Asked Questions
How deep should I bury landscape lighting cable?
Bury low voltage cable 6 to 8 inches deep. This depth protects the wire from accidental damage while keeping it accessible for future maintenance or modifications.
What gauge wire should I use for landscape lighting?
Use 12-gauge wire for runs up to 100 feet and 10-gauge wire for longer distances or higher wattage loads. Never use wire smaller than 12-gauge, as it creates voltage drop that dims fixtures.
How many landscape lights can one transformer power?
Divide your transformer wattage by fixture wattage to find the maximum number. For example, a 300-watt transformer can power twenty 15-watt fixtures. Always leave 25% capacity headroom for voltage drop and future expansion.
Can I install landscape lighting myself or should I hire a professional?
Simple installations with 6 to 10 fixtures along a single pathway can work as DIY projects. Complex layouts involving multiple fixture types, long cable runs, or integration with irrigation systems benefit from professional installation that ensures proper voltage, reliable connections, and professional design.
How do I prevent voltage drop in landscape lighting?
Use appropriately sized wire (12-gauge or larger), keep individual cable runs under 100 feet, avoid overloading transformers, and test voltage at each fixture location. Installing multiple shorter runs from a central transformer performs better than one extremely long run.
What’s the difference between low voltage and line voltage landscape lighting?
Low voltage systems operate at 12 volts through a transformer, offering safer installation and easier modifications. Line voltage systems run on standard 120 volts, requiring licensed electrical work and offering less flexibility for future changes.
How long does landscape lighting installation take?
Simple DIY installations with basic fixture placement typically require 1 to 2 full days for planning, trenching, and installation. Professional installations often complete in 1 day for standard residential projects, though complex designs may require additional time.