Hanging outdoor lights transforms your outdoor space, whether you’re adding festive holiday décor or creating year-round ambiance. Orange County homeowners face unique considerations with stucco exteriors, coastal weather conditions, and the desire for clean, lasting results. This guide covers practical methods for hanging outdoor lights on various surfaces while exploring when professional permanent installation makes the most sense.
Understanding Your Options: Temporary vs. Permanent Installation
Before gathering tools and climbing ladders, consider how long you want your lighting to last. Temporary methods work well for seasonal displays, while permanent installations offer lasting beauty without annual reinstallation hassles.
Temporary hanging methods use clips, hooks, and adhesive solutions that allow removal after holidays or events. These work for string lights, rope lights, and lightweight fixtures that you’ll take down within a few months.
Permanent installation involves mounting fixtures with concealed wiring and professional-grade connections. This approach eliminates visible wires, prevents weather damage, and creates a polished look that enhances property value. Many Orange County homeowners start with temporary solutions before discovering the benefits of landscape lighting installation for residential properties designed to last decades.
Tools and Materials You’ll Need
Successful outdoor light installation starts with proper preparation. Gather these essentials before starting:
Basic hanging supplies:
- Outdoor-rated extension cords
- Light clips designed for your surface type
- Cable staples or outdoor adhesive hooks
- Measuring tape and level
- Zip ties for securing connections
Safety equipment:
- Sturdy ladder rated for outdoor use
- Non-slip shoes
- Work gloves
- Ground fault circuit interrupter (GFCI) outlet tester
Installation helpers:
- Drill with masonry bits (for stucco or brick)
- Screwdriver set
- Wire cutters
- Weatherproof tape
Always prioritize ladder safety by maintaining three points of contact and having someone spot you when working at height. Check outdoor electrical safety guidelines before connecting any lights to ensure your setup meets code requirements.
How to Hang Outdoor Lights on Different Surfaces
Your home’s exterior material determines which hanging method works best. Orange County homes feature diverse architectural styles, from Spanish stucco to craftsman wood siding, each requiring specific techniques.
Hanging Lights on Stucco
Stucco presents unique challenges because surface damage shows prominently on these textured exteriors. Many landscape lighting installers in Costa Mesa, CA specialize in stucco-friendly methods that protect your home’s finish.
Adhesive hook method:
- Clean the stucco surface with rubbing alcohol
- Apply heavy-duty outdoor adhesive hooks rated for stucco
- Wait 24 hours before hanging lights
- Space hooks every 18-24 inches for even support
Cup hook installation:
- Mark hook locations with a pencil
- Pre-drill pilot holes using a masonry bit
- Install plastic anchors in the holes
- Screw cup hooks into anchors
- Hang light strings from the hooks
Remember that drilling into stucco creates permanent holes. Consider using these locations for future lighting or fill holes with stucco patch compound when removing hooks.
Installing Lights on Wood Siding or Trim
Wood surfaces offer the most flexibility for outdoor light installation. The material accepts screws easily without requiring special anchors.
Cup hook installation on wood:
- Locate solid wood beneath siding (avoid gaps)
- Pre-drill small pilot holes to prevent splitting
- Hand-screw cup hooks into pilot holes
- Hang light strings with consistent spacing
All-in-one light clips: These specialized clips slide under siding edges and grip both the siding and light strand. They work beautifully on lap siding and require no drilling. Simply slide the clip under the siding overlap, position the light in the clip channel, and press firmly.
Hanging Outdoor Lights on Brick
Brick offers excellent durability but requires careful drilling to avoid cracking mortar or bricks.
Mortar installation method:
- Mark locations in mortar joints, not brick faces
- Use a masonry bit sized for brick anchors
- Drill slowly with steady pressure
- Insert plastic anchors flush with mortar
- Screw hooks into anchors
- Hang lights from installed hooks
Brick clip alternative: Special clips hook over brick edges without drilling. While convenient, they support less weight than anchored hooks and work best for lightweight string lights.
Attaching Lights to Gutters
Gutters provide convenient mounting points along rooflines, though they weren’t designed to support hanging weight.
Gutter hook method:
- Choose clips designed specifically for gutters
- Space clips every 12-15 inches to distribute weight
- Slide clips over gutter edges
- Run light strands through clip channels
- Avoid overloading gutters with heavy displays
Excessive weight damages gutters and pulls them away from fascia boards. Keep displays lightweight and inspect gutters regularly during display periods.
How to Hang String Lights Without Nails or Drilling
Sometimes drilling isn’t practical or allowed. Rental properties, HOA restrictions, or temporary displays call for damage-free installation methods.
Adhesive Solutions
High-strength outdoor adhesive hooks and strips have improved dramatically. Look for products specifically rated for outdoor use with weight capacity matching your light strings.
Application tips:
- Clean surfaces thoroughly with rubbing alcohol
- Apply hooks at temperatures above 50°F
- Press firmly for 30 seconds during installation
- Wait 24 hours before hanging lights
- Remove according to manufacturer instructions to prevent damage
Pole and Post Systems
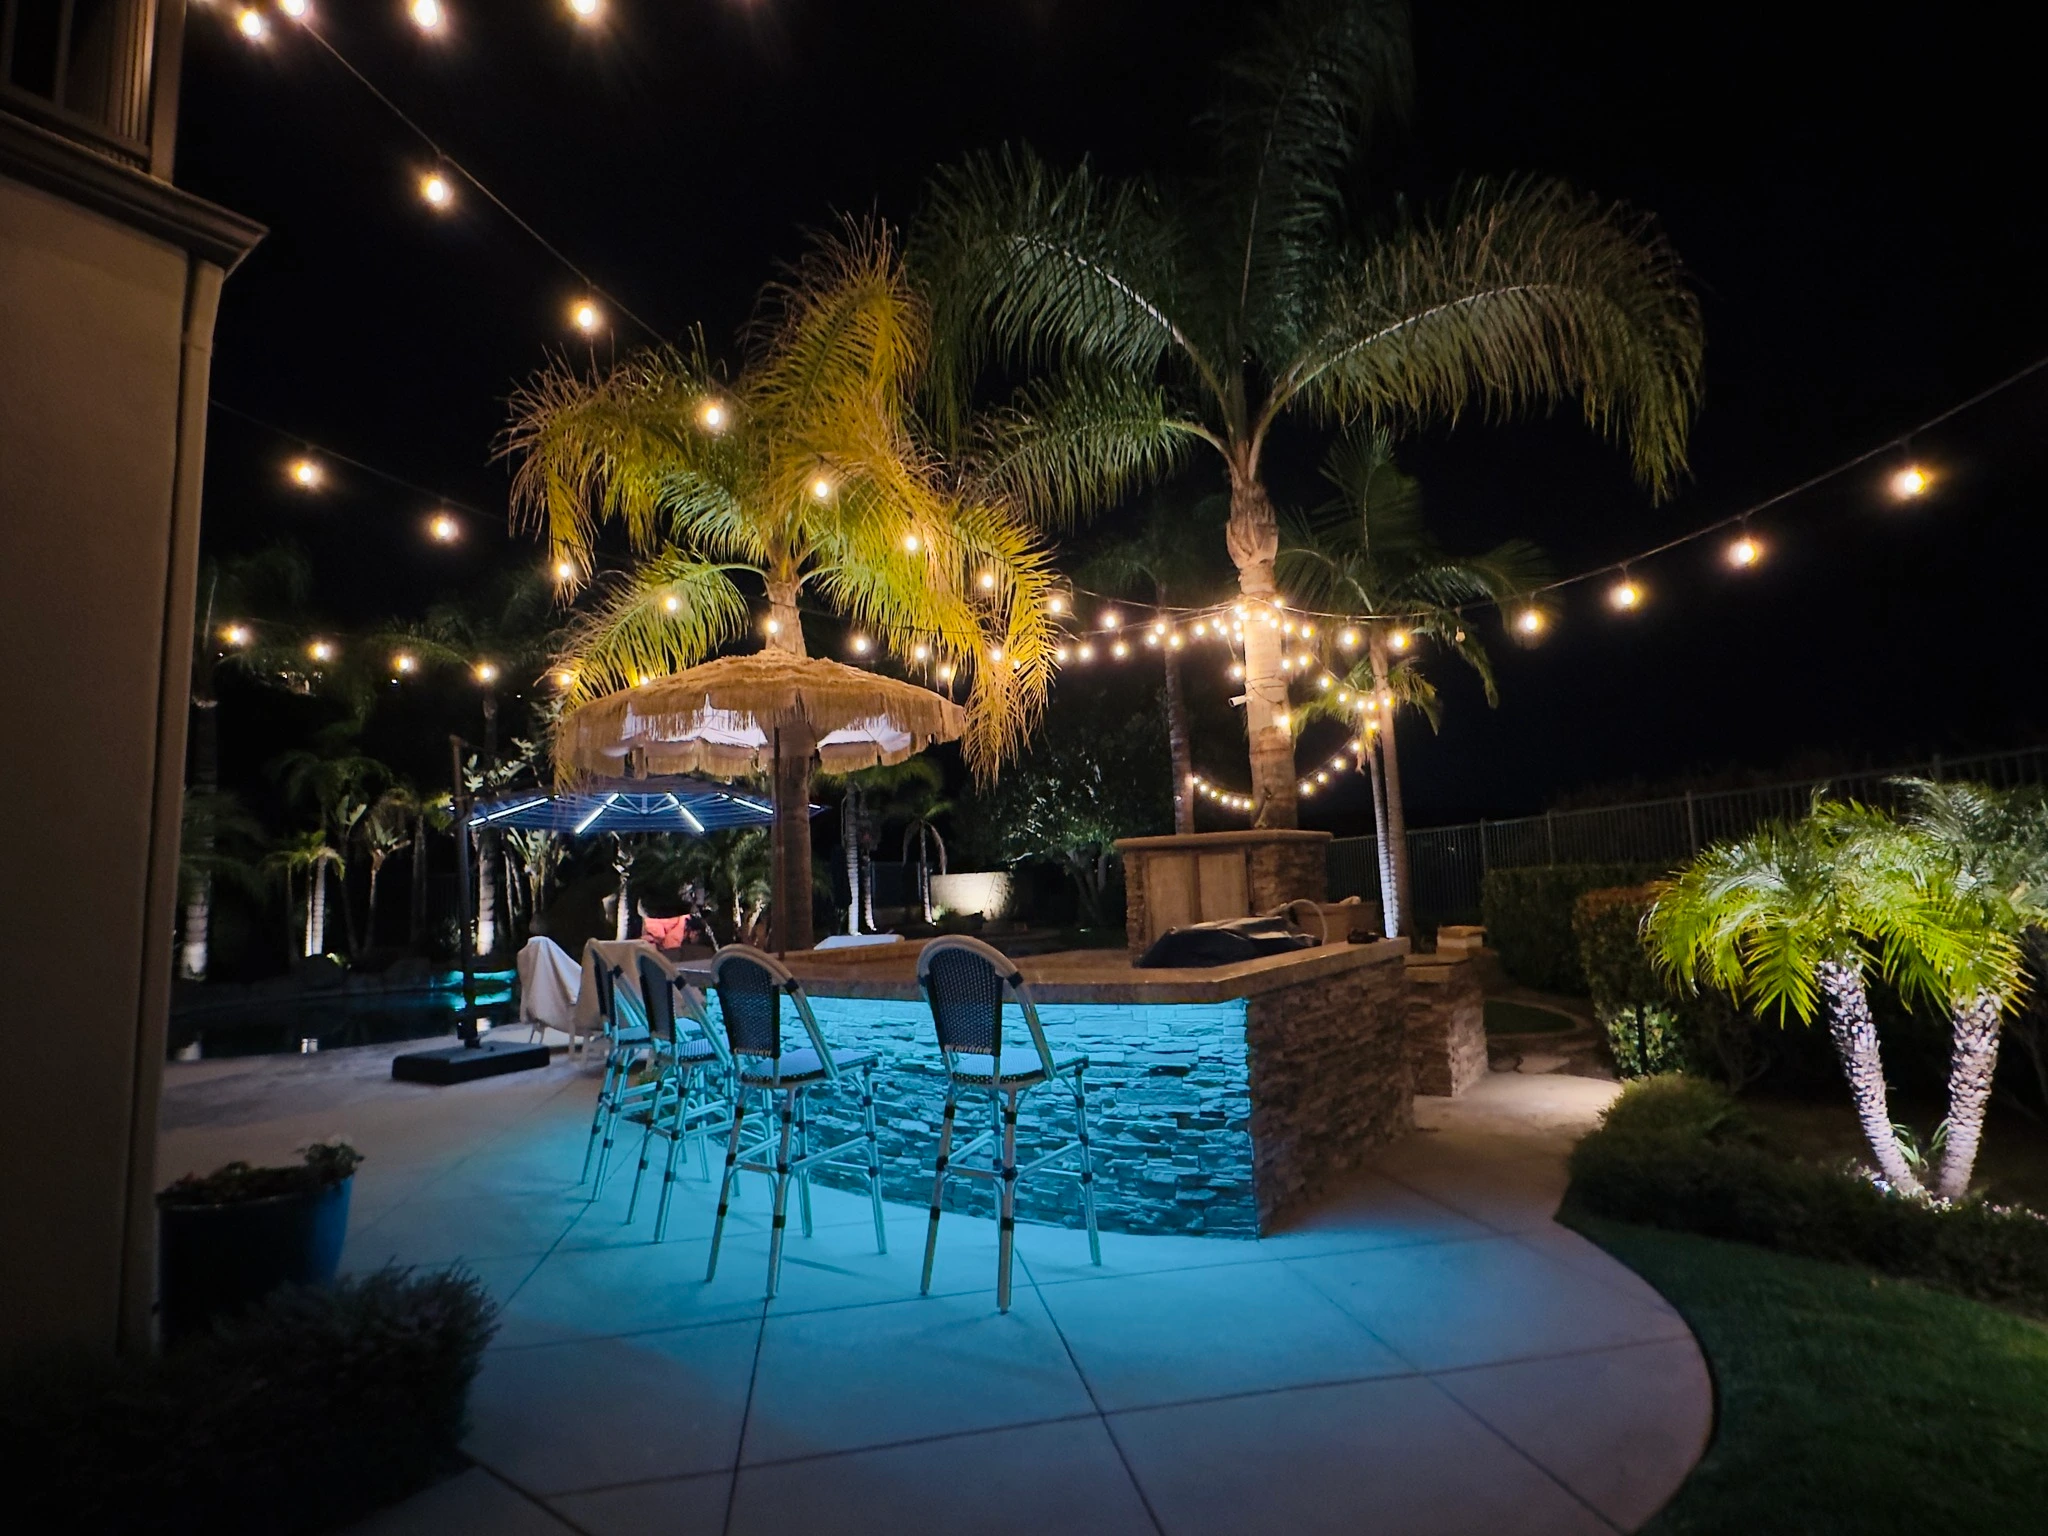
Freestanding poles avoid surface attachment entirely. These work exceptionally well for creating overhead string light patterns across patios and yards.
Installation process:
- Position poles at desired spacing (typically 10-20 feet)
- Secure bases with weighted planters or ground stakes
- Adjust pole height for proper light drape
- String lights between poles
- Tension lines for minimal sagging
This method excels for how to hang string lights on covered patio installations where attaching to the structure isn’t possible.
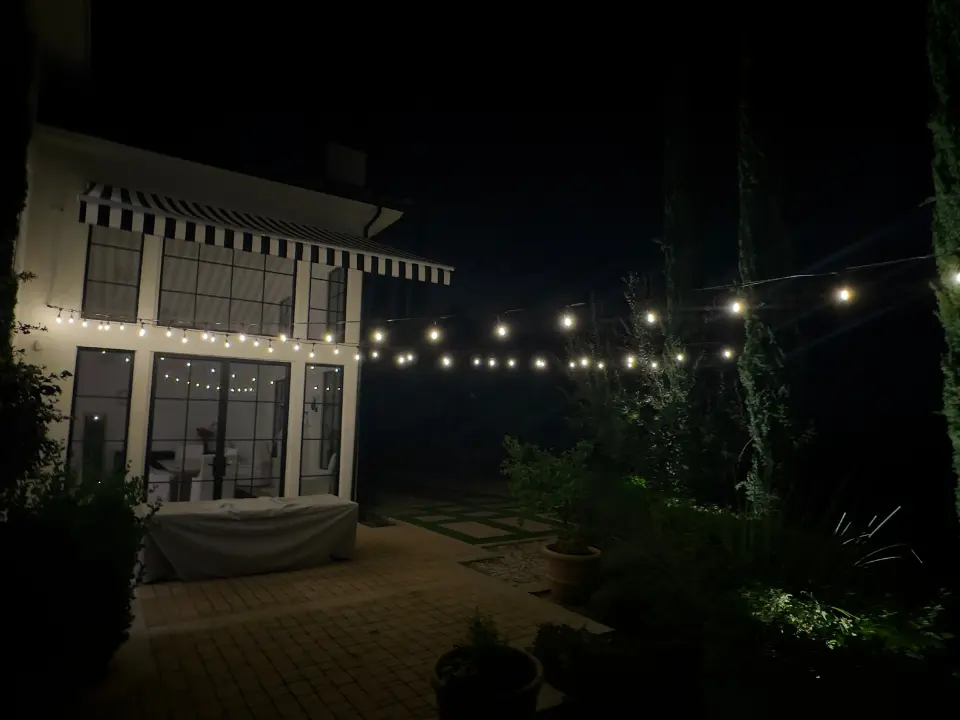
Temporary Wire Systems
Steel cable systems provide professional-looking results without permanent installation:
- Attach eyebolts or anchors at endpoints
- Run coated steel cable between anchors
- Use a cable tensioner for proper tautness
- Hang lights from cable using S-hooks
- Remove entire system after seasonal use
Common Outdoor Lighting Installation Mistakes to Avoid
Even experienced DIYers encounter problems when hanging outdoor lights. Avoid these frequent issues:
Overloading electrical circuits: Calculate total wattage before connecting multiple light strings. Standard 15-amp circuits handle about 1,440 watts safely. Exceeding capacity trips breakers or creates fire hazards.
Using indoor-rated products outdoors: Indoor extension cords and light strings deteriorate quickly outside. Always choose outdoor-rated (wet location) products with proper weatherproofing.
Insufficient support spacing: Sagging light strings look unprofessional and strain connections. Space support points every 12-24 inches depending on light weight and desired draping effect.
Ignoring coastal weather factors: Orange County coastal communities experience salt air that corrodes connections faster. Apply dielectric grease to all electrical connections and inspect regularly for corrosion.
Attaching directly to painted surfaces: Adhesive products can peel paint when removed. Test in inconspicuous areas first or attach to trim rather than painted siding.
Mixing incompatible light types: Don’t connect LED and incandescent strings on the same circuit. They draw power differently and can shorten bulb life or cause dimming issues.
How to Install Outdoor Lights Safely
Safety considerations extend beyond ladder use. Electrical hazards, weather exposure, and structural concerns all demand attention.
Electrical Safety Basics
GFCI protection: All outdoor outlets must have ground fault circuit interrupter protection. This device cuts power within milliseconds if moisture creates electrical shorts. Test GFCI outlets monthly by pressing the “test” button.
Weatherproof connections: Use outdoor-rated junction boxes and weatherproof covers for all connections exposed to elements. Never leave bare wire connections or use indoor-rated electrical tape outside.
Extension cord safety: Inspect cords before each use for cuts, exposed wire, or damaged plugs. Replace damaged cords immediately. Keep connections elevated off the ground where possible to prevent moisture contact.
Weather Considerations
Wind resistance: Secure lights against wind before storms arrive. Loose strands whip against surfaces, damaging both lights and exterior finishes. Add extra support clips in high-wind areas.
Rain protection: Check that all connections have waterproof seals. Water intrusion causes shorts, corrosion, and premature failure. Position plugs under eaves or use weatherproof junction boxes.
Temperature extremes: Winter cold makes plastic brittle while summer heat can melt adhesives. Choose products rated for your climate range and inspect regularly during temperature extremes.
Can Outdoor Lights Be Left Up All Year?
Many homeowners wonder whether leaving outdoor lights installed year-round makes sense. The answer depends on the type of lights and installation method.
Temporary installations deteriorate when left up permanently. Adhesive hooks lose strength, plastic clips become brittle, and exposed wiring degrades. Most manufacturers recommend removing seasonal lights within 90 days.
Professional permanent installations are specifically designed for year-round durability. These systems feature:
- Commercial-grade fixtures resistant to UV damage and corrosion
- Concealed wiring protected from weather and physical damage
- Proper drainage preventing water accumulation
- Materials chosen for decades of outdoor exposure
Permanent landscape lighting provides value beyond avoiding annual installation hassles. Integrated systems create cohesive designs highlighting architectural features, gardens, and outdoor living areas every night of the year.
When to Choose Professional Permanent Installation
DIY hanging methods serve specific purposes, but permanent installations offer advantages that temporary solutions can’t match.
Benefits of Professional Installation
Concealed wiring: No visible cords running across facades or stretched between attachment points. Wiring runs behind surfaces and underground, creating a polished appearance.
Integrated design: Professional designers balance light placement, intensity, and color temperature across entire properties. They consider viewing angles, light spill, and how lighting interacts with architecture.
Commercial-grade durability: Professional fixtures use brass and copper construction that outlasts consumer-grade products by decades. Quality transformers regulate power precisely for optimal bulb life.
Consistent results: Permanent systems deliver reliable performance night after night without adjustment, bulb repositioning, or connection troubleshooting.
Property value: Professionally designed outdoor lighting increases property values while reducing energy costs compared to leaving porch lights burning all night.
Understanding Installation Quality Differences
Not all permanent installations deliver equal results. Look for these quality markers:
Fixture construction: Brass and copper fixtures resist corrosion better than painted aluminum. Inspect base metals, not just finishes.
Wire gauge and connections: Professional installers use appropriate wire gauges for run lengths and loads. Direct burial wire with waterproof connectors ensures decades of reliable service.
Transformer quality: The transformer converts line voltage to safe low-voltage power. Quality transformers include multiple taps for precise voltage control and overload protection.
Design approach: Professional designers consider layers of light, focal points, and how lighting changes with seasons. They create systems that enhance properties without over-lighting.
Finding the Right Installation Method for Your Needs
Choosing between DIY hanging and professional installation depends on your goals, timeline, and budget.
Choose temporary DIY methods when:
- Installing seasonal holiday displays
- Renting property or living under HOA restrictions
- Testing lighting ideas before permanent commitment
- Working with extremely limited budgets
- Needing simple accent lighting for events
Consider professional permanent installation for:
- Year-round landscape enhancement
- Highlighting architectural features consistently
- Creating integrated outdoor living spaces
- Increasing property value and curb appeal
- Eliminating annual installation and maintenance
Many Orange County homeowners start with DIY string lights before transitioning to permanent systems. The experience helps clarify where lighting adds the most value and which areas deserve professional attention.
Let’s Design Your Perfect Outdoor Lighting System
Hanging outdoor lights yourself teaches valuable lessons about what works on your property. When you’re ready to move beyond seasonal displays to permanent landscape lighting that enhances your home every night, professional design and installation create results impossible to achieve with temporary methods.
Vision Outdoor Lighting specializes in permanent outdoor lighting installations across Orange County, CA. As trusted landscape lighting contractor in Orange County understand local architectural styles, coastal weather challenges, and design preferences unique to the region. Our installations feature commercial-grade brass and copper fixtures, concealed wiring, and meticulous attention to detail that ensures your lighting looks professionally designed because it is.
Whether you’re enhancing front yard curb appeal, creating intimate backyard ambiance, or illuminating pathways for safety and beauty, our team brings decades of experience to every project. We start with comprehensive property evaluations, create custom designs highlighting your home’s best features, and install systems built to deliver decades of reliable performance.
Ready to explore permanent lighting that transforms your property? Contact Vision Outdoor Lighting at (949) 877- 3600 for a consultation. We’ll assess your property, discuss your vision, and show you what’s possible when lighting becomes an integrated part of your home’s design.
Visit our landscape lighting resources for more helpful guides.